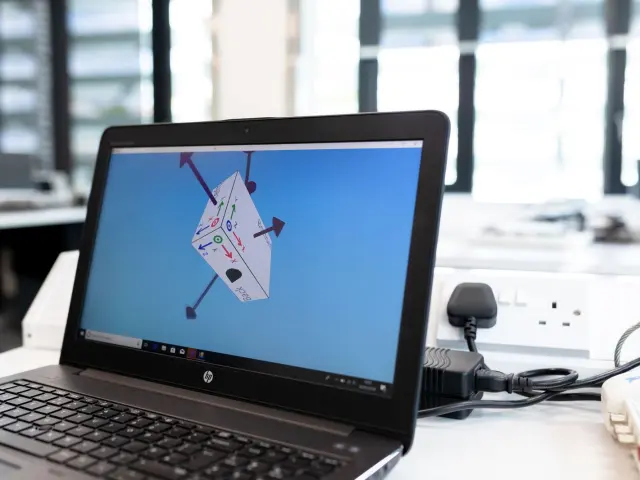

Starting your first 3D design can feel daunting. This Tinkercad tutorial gets you from sign-up to a finished model: create a free account, drag shapes onto the Workplane, resize them, and combine them.
This tutorial sits within the wider topic of 3d modeling software, so you can see where Tinkercad fits among the other options.
| Item | Value |
|---|---|
| Price | Free |
| Where it runs | In your web browser |
| Account needed | Autodesk account, free for students and teachers |
| Lesson you start in on first login | Learning the Moves |
| Key tools to learn early | Align, Ruler, Workplane, Group, Hole |
| What you can do with a finished design | Export it for 3D printing |
These figures come from the JMU 3SPACE guide to designing with Tinkercad. Accounts, features and pricing can change, so check the source before you rely on them.
What you need before you start
Tinkercad is a free 3D modeling program that runs right in your web browser, so there is nothing to install. The JMU guide describes the interface as extremely intuitive: you drag, drop, modify and combine 3D shapes.
Before you open it, have these ready:
- A modern web browser and an internet connection.
- An Autodesk account, which is free for students and teachers.
- A few minutes to sign up, which the guide says takes about a minute.
You do not need any prior modeling experience. If you have never used a 3D program, Tinkercad is a gentle place to learn how shapes, sizes and positions work together.
Set up your account and try the first lesson
Go to the Tinkercad website and sign up with an Autodesk account. The JMU guide suggests doing this before reading further, so you can follow along on screen.
The first time you log in, you start inside the Learning the Moves lesson. Use the step arrows in the upper left to read the instructions for each lesson and to move to the next one.
There are a lot of lessons, and some are more technical than others. You do not have to complete them all right away, so try the first one and move on once you feel ready to build something yourself.
How do you build your first design?
When you are ready to leave the lessons, click the multicolored Tinkercad logo to reach your main Designs page. From there, choose the option to create a new design and you will land on an empty canvas.
Follow this simple routine for your first model:
- Drag a shape from the right sidebar onto the blue Workplane.
- Use the handle dots on the shape to change its size or shape.
- Add a second shape and place it next to or on top of the first.
- Combine the shapes until you have one object you recognise.
- If something looks wrong, use Undo and try again.
Keep the first project very small, such as a simple box, a basic stand or a name tag. A small result teaches you more than an ambitious one that you abandon halfway.
When the design is finished, it can be exported for 3D printing. That export step is what turns a screen model into something you can hold.
The five tools that make designs interesting
The JMU guide singles out five tools as the secret to creating interesting Tinkercad designs. Learning them early saves you from fiddly manual adjustments later.
- Align: lines up several shapes so they sit exactly where you want them.
- Ruler: helps you check and set the dimensions of your objects.
- Workplane: the blue surface your shapes sit on.
- Group: joins several shapes into a single object.
- Hole: a shape type used to cut away material from another shape.
Practise one tool per session. For example, build the same simple object twice, once by eye and once with Align and Ruler, and compare the results.
Where to go next
The JMU guide points to the Tinkercad Jumpstart resource page on Thingiverse, which gathers videos, projects and links to models in one place. It also recommends the beginner-friendly video Introduction to Tinkercad Beta for detailed instructions and tips.
Once your first models feel comfortable, it helps to understand the bigger picture. The comparison of cad vs 3d modeling software explains how different kinds of tools suit different jobs.
If you later want a more technical program, fusion 360 for beginners is a natural next read. Until then, keep building small designs in Tinkercad and export a few for printing.
Frequently asked questions
Is Tinkercad really free?
Show answer
The JMU 3SPACE guide describes Tinkercad as a free 3D modeling program that runs in your web browser. It also notes that you need an Autodesk account, which is free for students and teachers. Check the source and the official site for current terms before you rely on this.
Do I have to finish every lesson before designing?
Show answer
No. The guide says there are a lot of lessons and that you should not feel you have to complete them all right away. Work through Learning the Moves, then start your own design when you feel ready.
How do I start a new design?
Show answer
Click the multicolored Tinkercad logo to go to your main Designs page, then choose the option to create a new design. Drag shapes from the right sidebar onto the blue Workplane to begin.
What if I make a mistake?
Show answer
Use Undo. The guide notes that you can always undo a change you do not like, so experimenting costs you nothing.
Can I 3D print what I make?
Show answer
Yes. According to the JMU guide, a design made in Tinkercad can be exported for 3D printing.