Not sure where to start? 3d printing for beginners is easiest with an FDM printer, PLA filament and a free slicer. Print a tested model and watch the first layer.
| Item | Typical value |
|---|---|
| Filament diameter | 1.75 mm |
| Common nozzle width | 0.4 mm |
| Typical layer height | 0.2 mm |
| Hot end melting range | 200-300 °C, depending on the plastic |
| Entry-level printer (Bambu Lab A1 mini) | From ~$220, approximate US street price as of October 2026 |
These figures come from PrintPal’s beginner guide to FDM 3D printing, updated October 2026. Prices and specifications change, so check the source before you rely on them.
How does FDM 3D printing work?
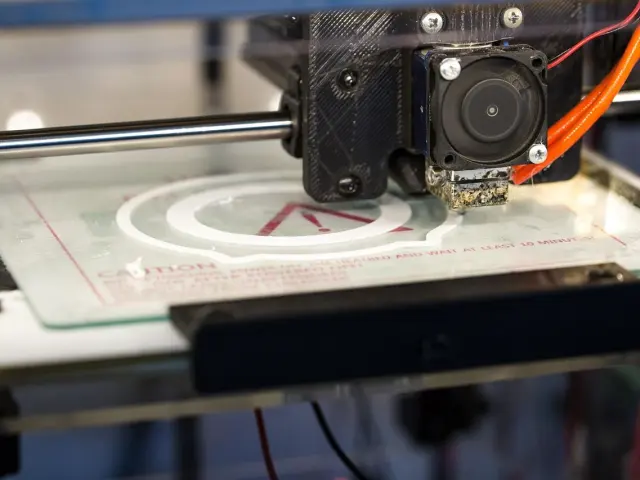
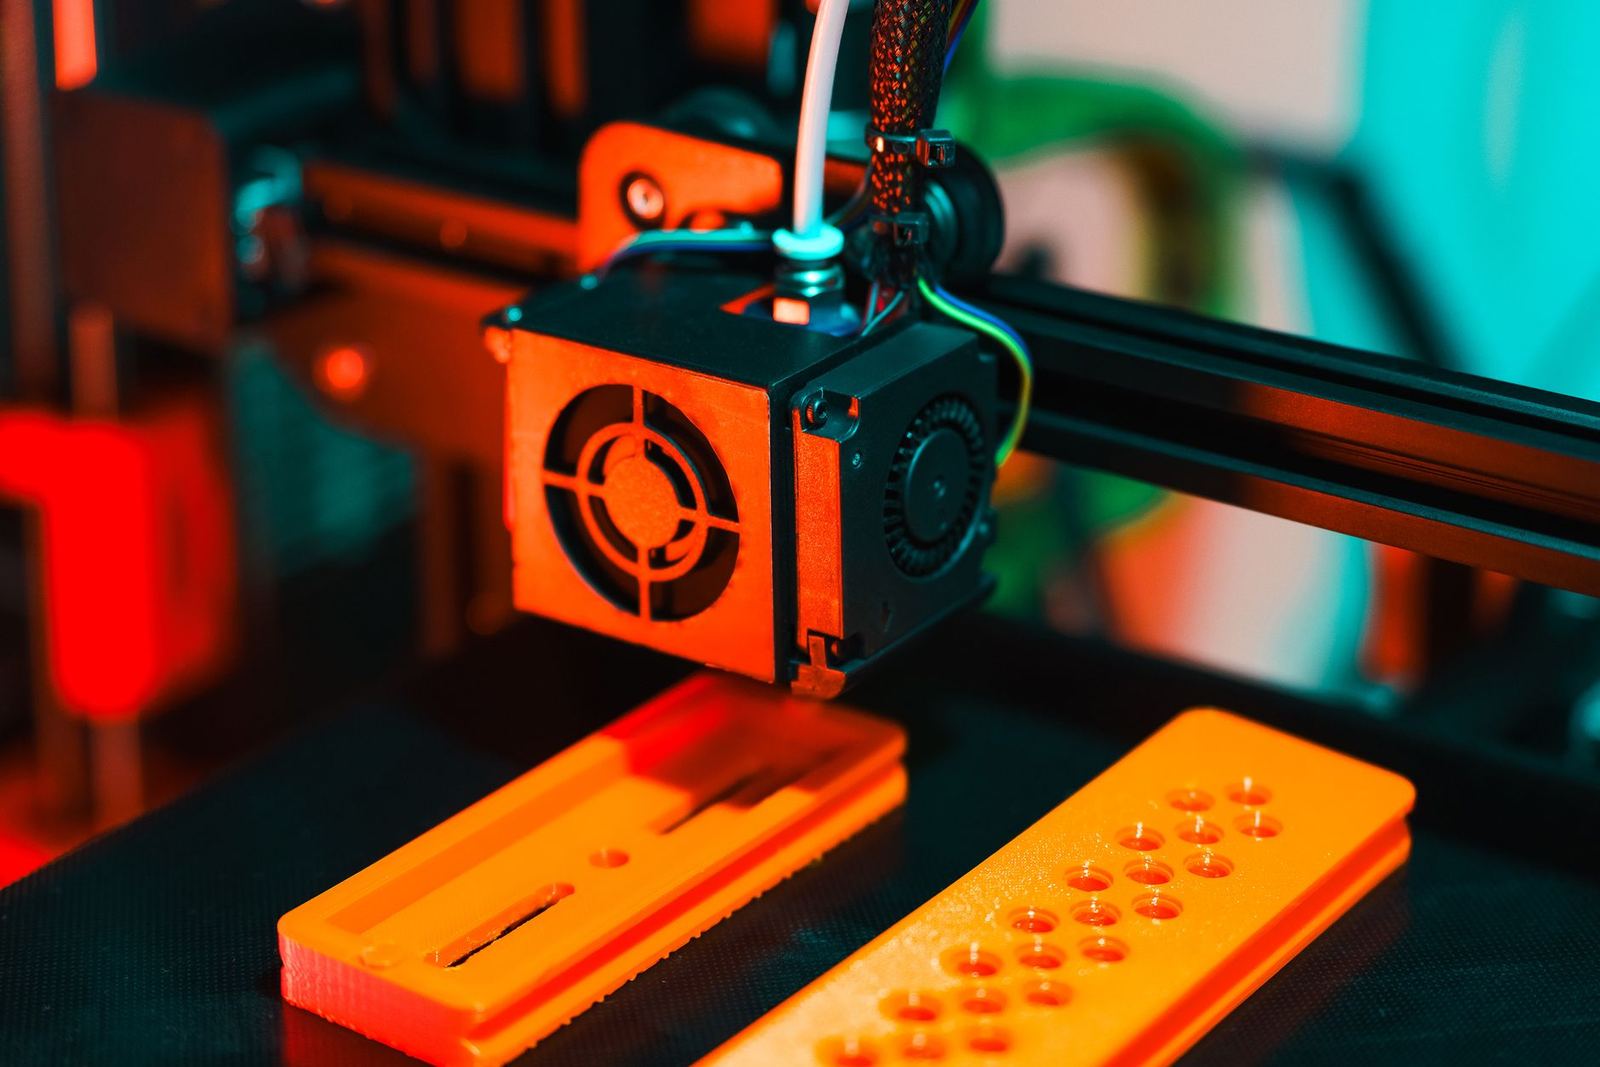
FDM (fused deposition modelling, also called FFF) is the most common type of home 3D printing, according to PrintPal’s guide. A printer melts a plastic filament and draws your object one thin layer at a time. The two names describe the same machine, and as QIDI’s beginner guide explains, FDM is a trademarked term while FFF is the identical process under a trademark-free name.
Every print follows the same loop, which PrintPal breaks down like this:
- Filament, a 1.75 mm plastic strand on a spool, is pushed into the hot end by a geared motor called the extruder.
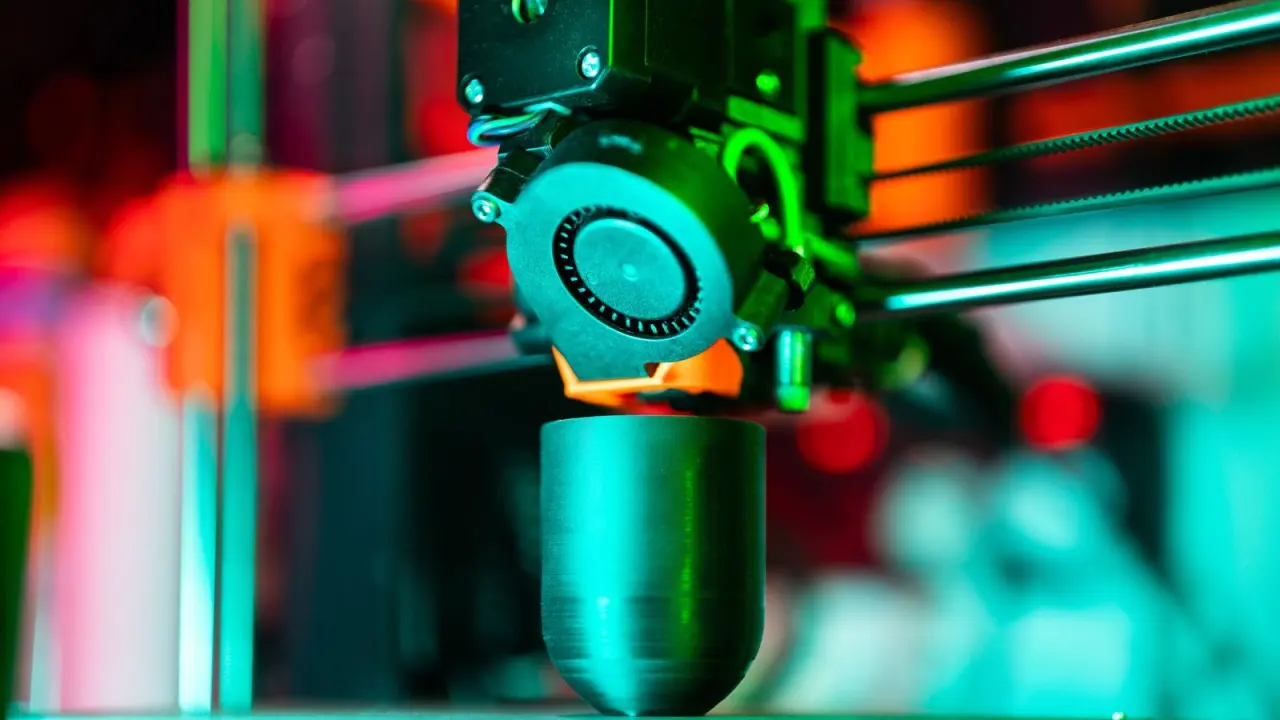
- The hot end melts it, usually at 200-300 °C depending on the plastic, and squeezes it out of a nozzle, most often 0.4 mm wide.
- Motors move the nozzle and the bed so the molten line traces one slice of your object onto a heated build plate.
- The nozzle rises by one layer height (typically 0.2 mm) and draws the next slice on top.
A 40 mm tall part at 0.2 mm layers is 200 layers, according to the same guide. That is why a small first print can still take a while, and why a clean first layer matters so much. If you want the mechanics in more depth, a separate explainer answers the question how does 3d printing work step by step.
The instructions for every move come from a slicer. This is software that turns a 3D model (STL, 3MF or OBJ) into a G-code file for your printer, as PrintPal describes it. You design or download the model, slice it, and send the result to the machine.
FDM or resin: choosing where to start
The other main home technology is resin printing (SLA or MSLA), which cures liquid resin with light. PrintPal says it gives finer detail for miniatures and jewellery, but needs gloves, washing and curing, and good ventilation. For a deeper side-by-side look, read the comparison of fdm vs resin 3d printing.
FDM is the usual first choice. QIDI’s guide calls it the easiest 3D printing process to learn, the cheapest to run, and the one most beginners start with. Keep in mind that this is a printer maker’s view, but it matches the way most beginner guides are built.
The same guide says FDM works well for prototypes, hobby models, classroom projects, visual mock-ups, organizers, holders, and many light-duty functional parts. A quick way to decide:
- Choose FDM if you want everyday objects, simple tools and a lower-effort workflow.
- Choose resin if fine detail on miniatures or jewellery matters more than convenience, and you are happy to handle gloves, washing, curing and ventilation.
- If you are unsure, start with FDM and PLA. You can add resin later.
What to look for in a first printer
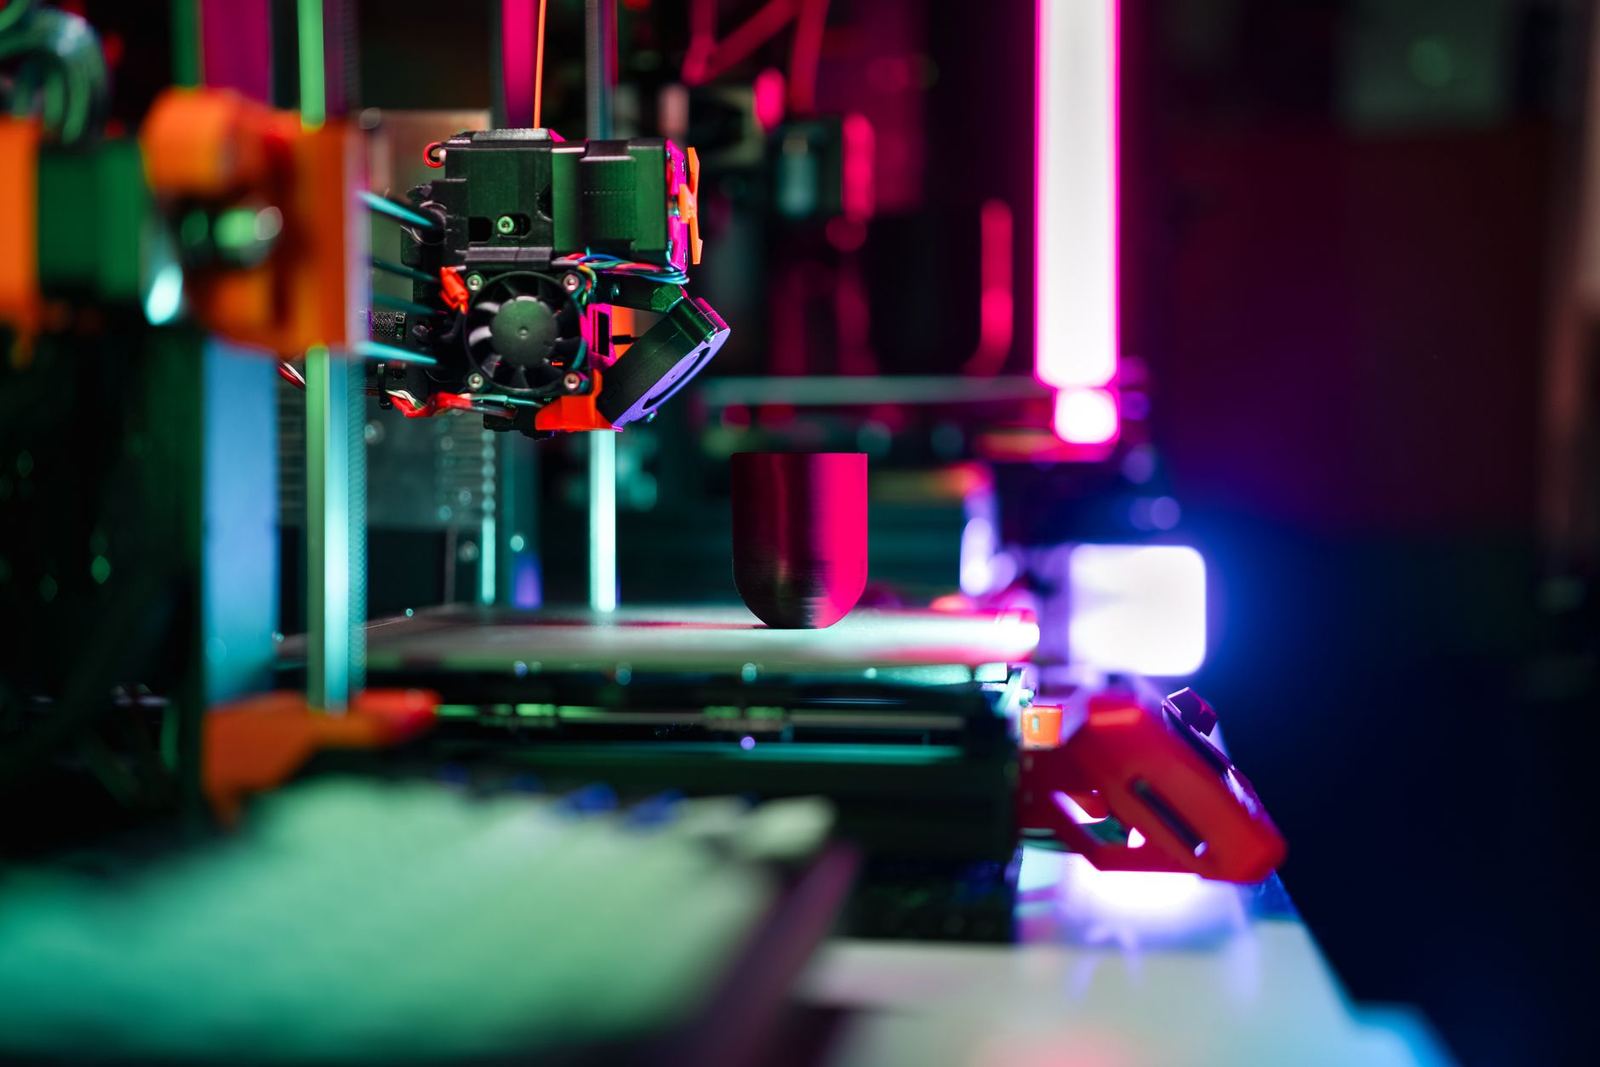
According to PrintPal’s October 2026 guide, a beginner-friendly printer in 2026 levels its own bed, tunes itself for vibration and costs a few hundred dollars. Features that used to be upgrades are now common on entry-level machines:
- Automatic bed leveling and Z-offset, which removes the fiddliest beginner step.
- Input shaping, or vibration compensation, so the printer can print fast without ripples.
- Automatic flow and pressure calibration on many models, which improves corners and surface finish.
- Enclosed CoreXY printers at entry-level prices, which keep heat in for ABS and ASA and contain fumes better.
- Multi-color systems that feed 4 spools automatically, such as Bambu Lab’s AMS family.
- Built-in cameras and phone apps for remote monitoring.
When you compare machines, use a checklist. The same guide suggests looking for these points:
- Automatic bed leveling, ideally with automatic Z-offset
- A direct drive extruder, which is better with flexible filament and gives less stringing
- A removable, flexible PEI build plate
- An enclosure, if you plan to print ABS, ASA or other engineering plastics
- A multi-color option, if you want it, which is cheaper to buy as a bundle up front
- At least one free slicer with a ready-made profile
- Spare parts and support that are easy to get in your country
Printers beginners often start with
The table below shows four of the models PrintPal lists as widely recommended first printers. Prices are approximate US street prices as of October 2026; they change often and vary by region.
| Printer | Approx. price (USD) | Type | Build volume |
|---|---|---|---|
| Bambu Lab A1 mini | From ~$220 | Open bed-slinger | 180 × 180 × 180 mm |
| Bambu Lab A1 | From ~$300 | Open bed-slinger | 256 × 256 × 256 mm |
| Bambu Lab P2S | From ~$550 | Enclosed CoreXY | 256 × 256 × 256 mm |
| Original Prusa MK4S | ~$930-1,000 assembled | Open bed-slinger | 250 × 210 × 220 mm |
Adding the AMS lite multi-color unit raises the A1 mini to roughly $330-360, according to the same guide. These names are neutral examples from one source, not recommendations from this site.
Open or enclosed?
If you will mostly print PLA and PETG, PrintPal says an open bed-slinger like the A1 is cheaper and works well. If you want ABS or ASA for outdoor or heat-resistant parts, or the printer will live in a living space, buy an enclosed printer.
Buying used or on clearance? As of that guide’s October 2026 update, Bambu Lab’s X1 series reached end of life on 31 March 2026 and the P1P on 10 February 2026. Both still get parts and support, but they are no longer current models, so price them accordingly.
Slicers, files and models
Your printer cannot read a model directly. The slicer converts it, so picking one is part of picking a printer. PrintPal notes that all four major slicers are free and open source, and advises starting with the one your printer maker recommends, because its profiles are already tuned.
| Slicer | Best for |
|---|---|
| Bambu Studio | Bambu Lab printers, with tight integration and multi-color painting |
| OrcaSlicer | Almost any printer; a community fork of Bambu Studio with built-in calibration tests |
| PrusaSlicer | Prusa printers and many others; mature and well documented |
| UltiMaker Cura | A huge range of printers, with hundreds of settings and a plugin marketplace |
The slicer descriptions in this table are summarised from PrintPal’s beginner guide to FDM 3D printing, updated October 2026; slicer features and supported printers change with new releases, so check the source before you rely on them.
Models reach the slicer as files, and the format matters. This comparison of stl vs obj vs 3mf shows what each one stores, while a short explainer covers what is an stl file and why it is the default for hobby printing.
Before slicing, a model often needs checking and orienting. The guide on how to prepare a 3d model for printing walks through that step, and it saves many failed prints.
As a beginner, start with a tested model that someone else has already printed successfully. When you are ready to design your own parts, the 3d modeling basics hub is the place to begin, and it helps to compare 3d modeling software options before you commit to one.
Choosing your first filament
Material choice has a direct effect on print quality, strength, ease of use and troubleshooting, says QIDI’s guide. PLA is often the easiest filament for a beginner: it prints at moderate temperatures, usually shows low warping, and gives clean detail with little tuning. Its main limitations are lower heat resistance and a tendency to be brittle under impact.
The starting points below are normally enough to get a usable first print before any fine tuning.
| Filament | Nozzle (°C) | Bed (°C) | Enclosure needed? | Best for |
|---|---|---|---|---|
| PLA | 190 – 220 | 50 – 60 | No | Models, prototypes, classroom work |
| PETG | 220 – 250 | 70 – 90 | No | Brackets, holders, light functional parts |
| ABS | 230 – 260 | 90 – 110 | Strongly recommended, heated chamber best | Heat-resistant and impact-tolerant parts |
These temperature ranges come from QIDI’s beginner guide to FDM 3D printing; settings vary by printer and filament brand, so check the source and your spool’s label before you rely on them.
PETG is tougher and handles heat better than PLA, but QIDI says it can produce stringing if temperature and retraction are not dialed in. ABS is less forgiving: warping is common, and good ventilation matters because ABS fumes can be unpleasant and may pose health concerns in enclosed spaces. For early learning, PLA is usually the most practical choice, and PETG can follow once the basic workflow feels comfortable.
For a wider look at materials, including flexible and engineering plastics, see this overview of the types of 3d printing filament.
Store spools carefully. PrintPal recommends a sealed box with desiccant, because even sealed new spools can arrive damp.
Your first print, step by step
PrintPal’s quick-start routine is short, and it fits almost any FDM printer:
- Buy a printer with automatic bed leveling and a direct drive extruder.
- Buy PLA and a few basic tools: flush cutters, isopropyl alcohol and a scraper.
- Install your printer’s slicer and run the printer’s first-time calibration.
- Print a tested model with the default 0.2 mm PLA profile.
- Watch the first layer, then let it run.
The last step carries the most weight. QIDI points out that if the material does not stick properly, corners may lift and the print may fail early. Standing by for the opening minutes lets you stop and restart before you waste a whole spool.
A small kit makes everything easier. PrintPal’s list of extras includes:
- One or two spools of PLA to start
- Flush cutters for trimming filament and supports
- 90%+ isopropyl alcohol and paper towels for cleaning the plate, plus dish soap for occasional deep cleans
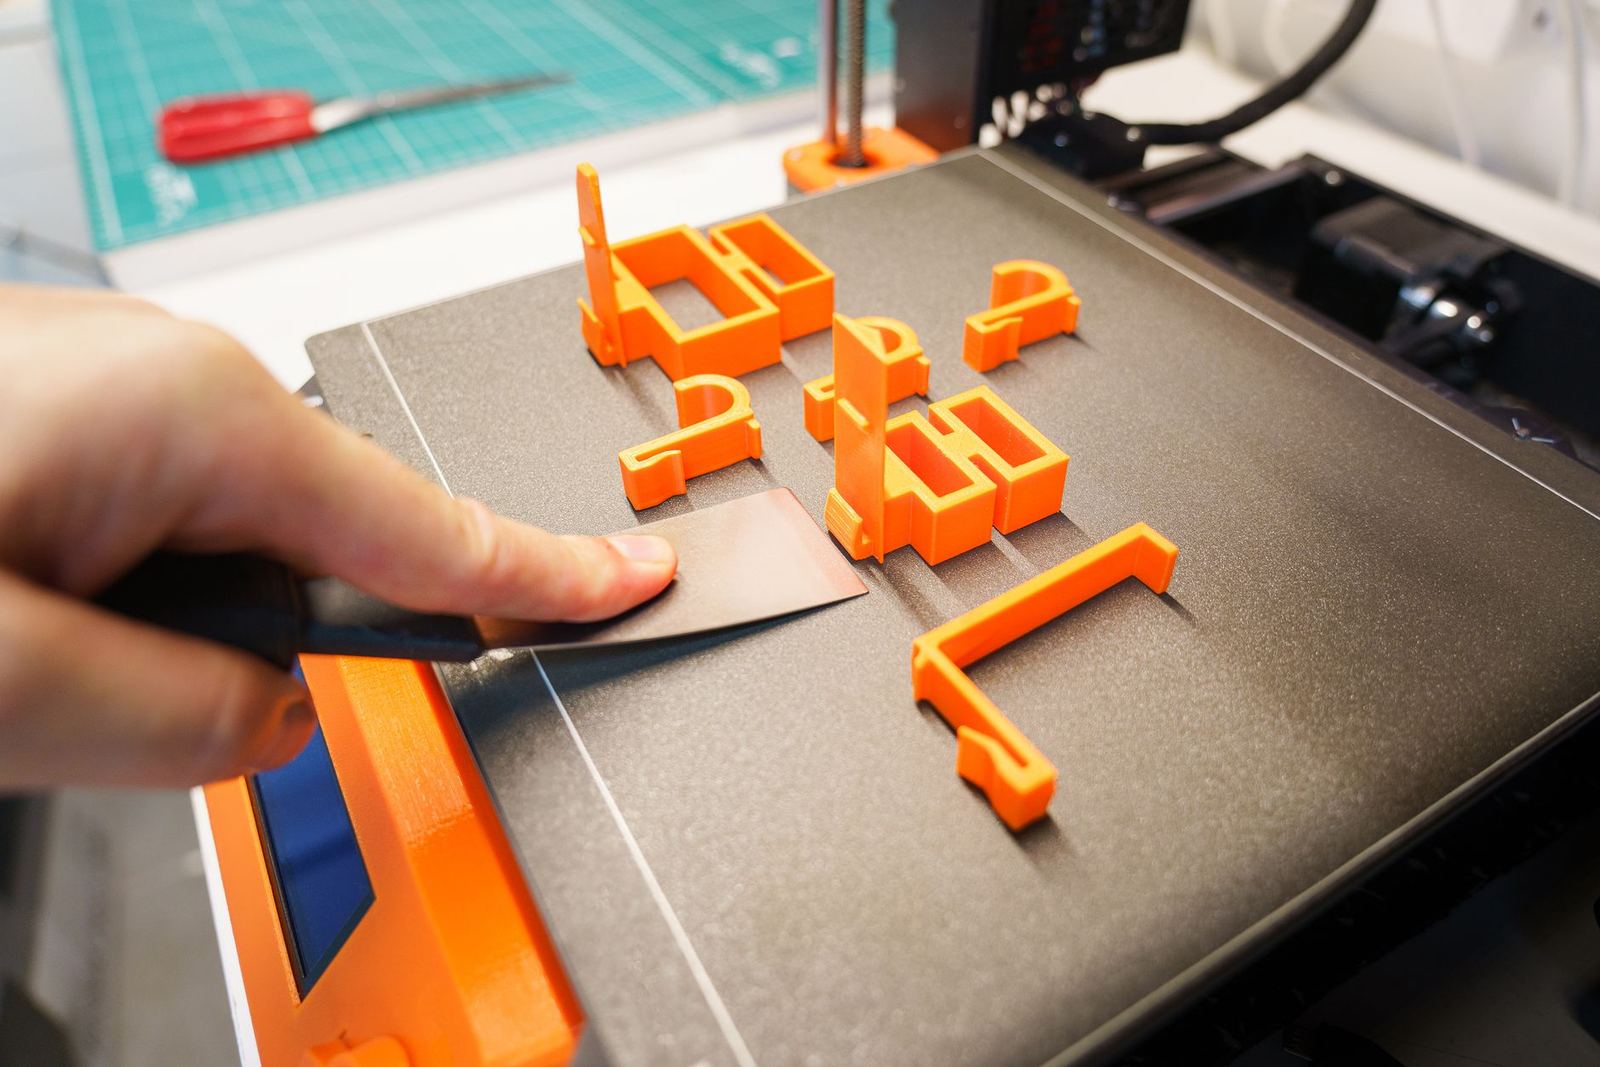
- A plastic scraper for stubborn parts
- Digital calipers for measuring parts and checking fit
- A glue stick for PETG on smooth PEI and for engineering plastics
- A sealed box with desiccant for storing filament
Overhanging parts may need 3d printing supports, which you trim off afterwards with those flush cutters. When something goes wrong anyway, a guide to common 3d printing problems helps you match the symptom to a fix.
Frequently asked questions
Is FDM the same as FFF?
Show answer
Yes. FDM (Fused Deposition Modeling) is a trademarked term, and FFF (Fused Filament Fabrication) is the identical process under a trademark-free name. Nothing about the machine or the print changes between the two labels.
Which filament should a beginner use first?
Show answer
PLA. It is usually the easiest to print, shows low warping, and needs little tuning. PETG makes a sensible second material once the basic workflow feels comfortable.
Do I need an enclosed printer?
Show answer
Not for PLA or PETG, where an open printer is cheaper and works well. An enclosure becomes worthwhile if you plan to print ABS, ASA or other engineering plastics, or if the printer will live in a living space.
What do I need to buy besides the printer?
Show answer
Filament, flush cutters, isopropyl alcohol, a scraper and a free slicer are the basics. Digital calipers and a sealed box with desiccant for storing filament are useful additions.